

Home
Home is the starting point. The heading greets you by your first name. Under it, everything happening at your account is in one place. Your day at a glance shows up to three widgets, switchable between Today and Tomorrow. Below that you can ask the anny AI Agent: What can I help you with? The suggestions are What’s up today?, Review pending requests, and Find available resources. Further down are Getting Started, New Notifications, and My To-dos. Beside them, New Features. Once the first steps are done, Get the most out of anny is added.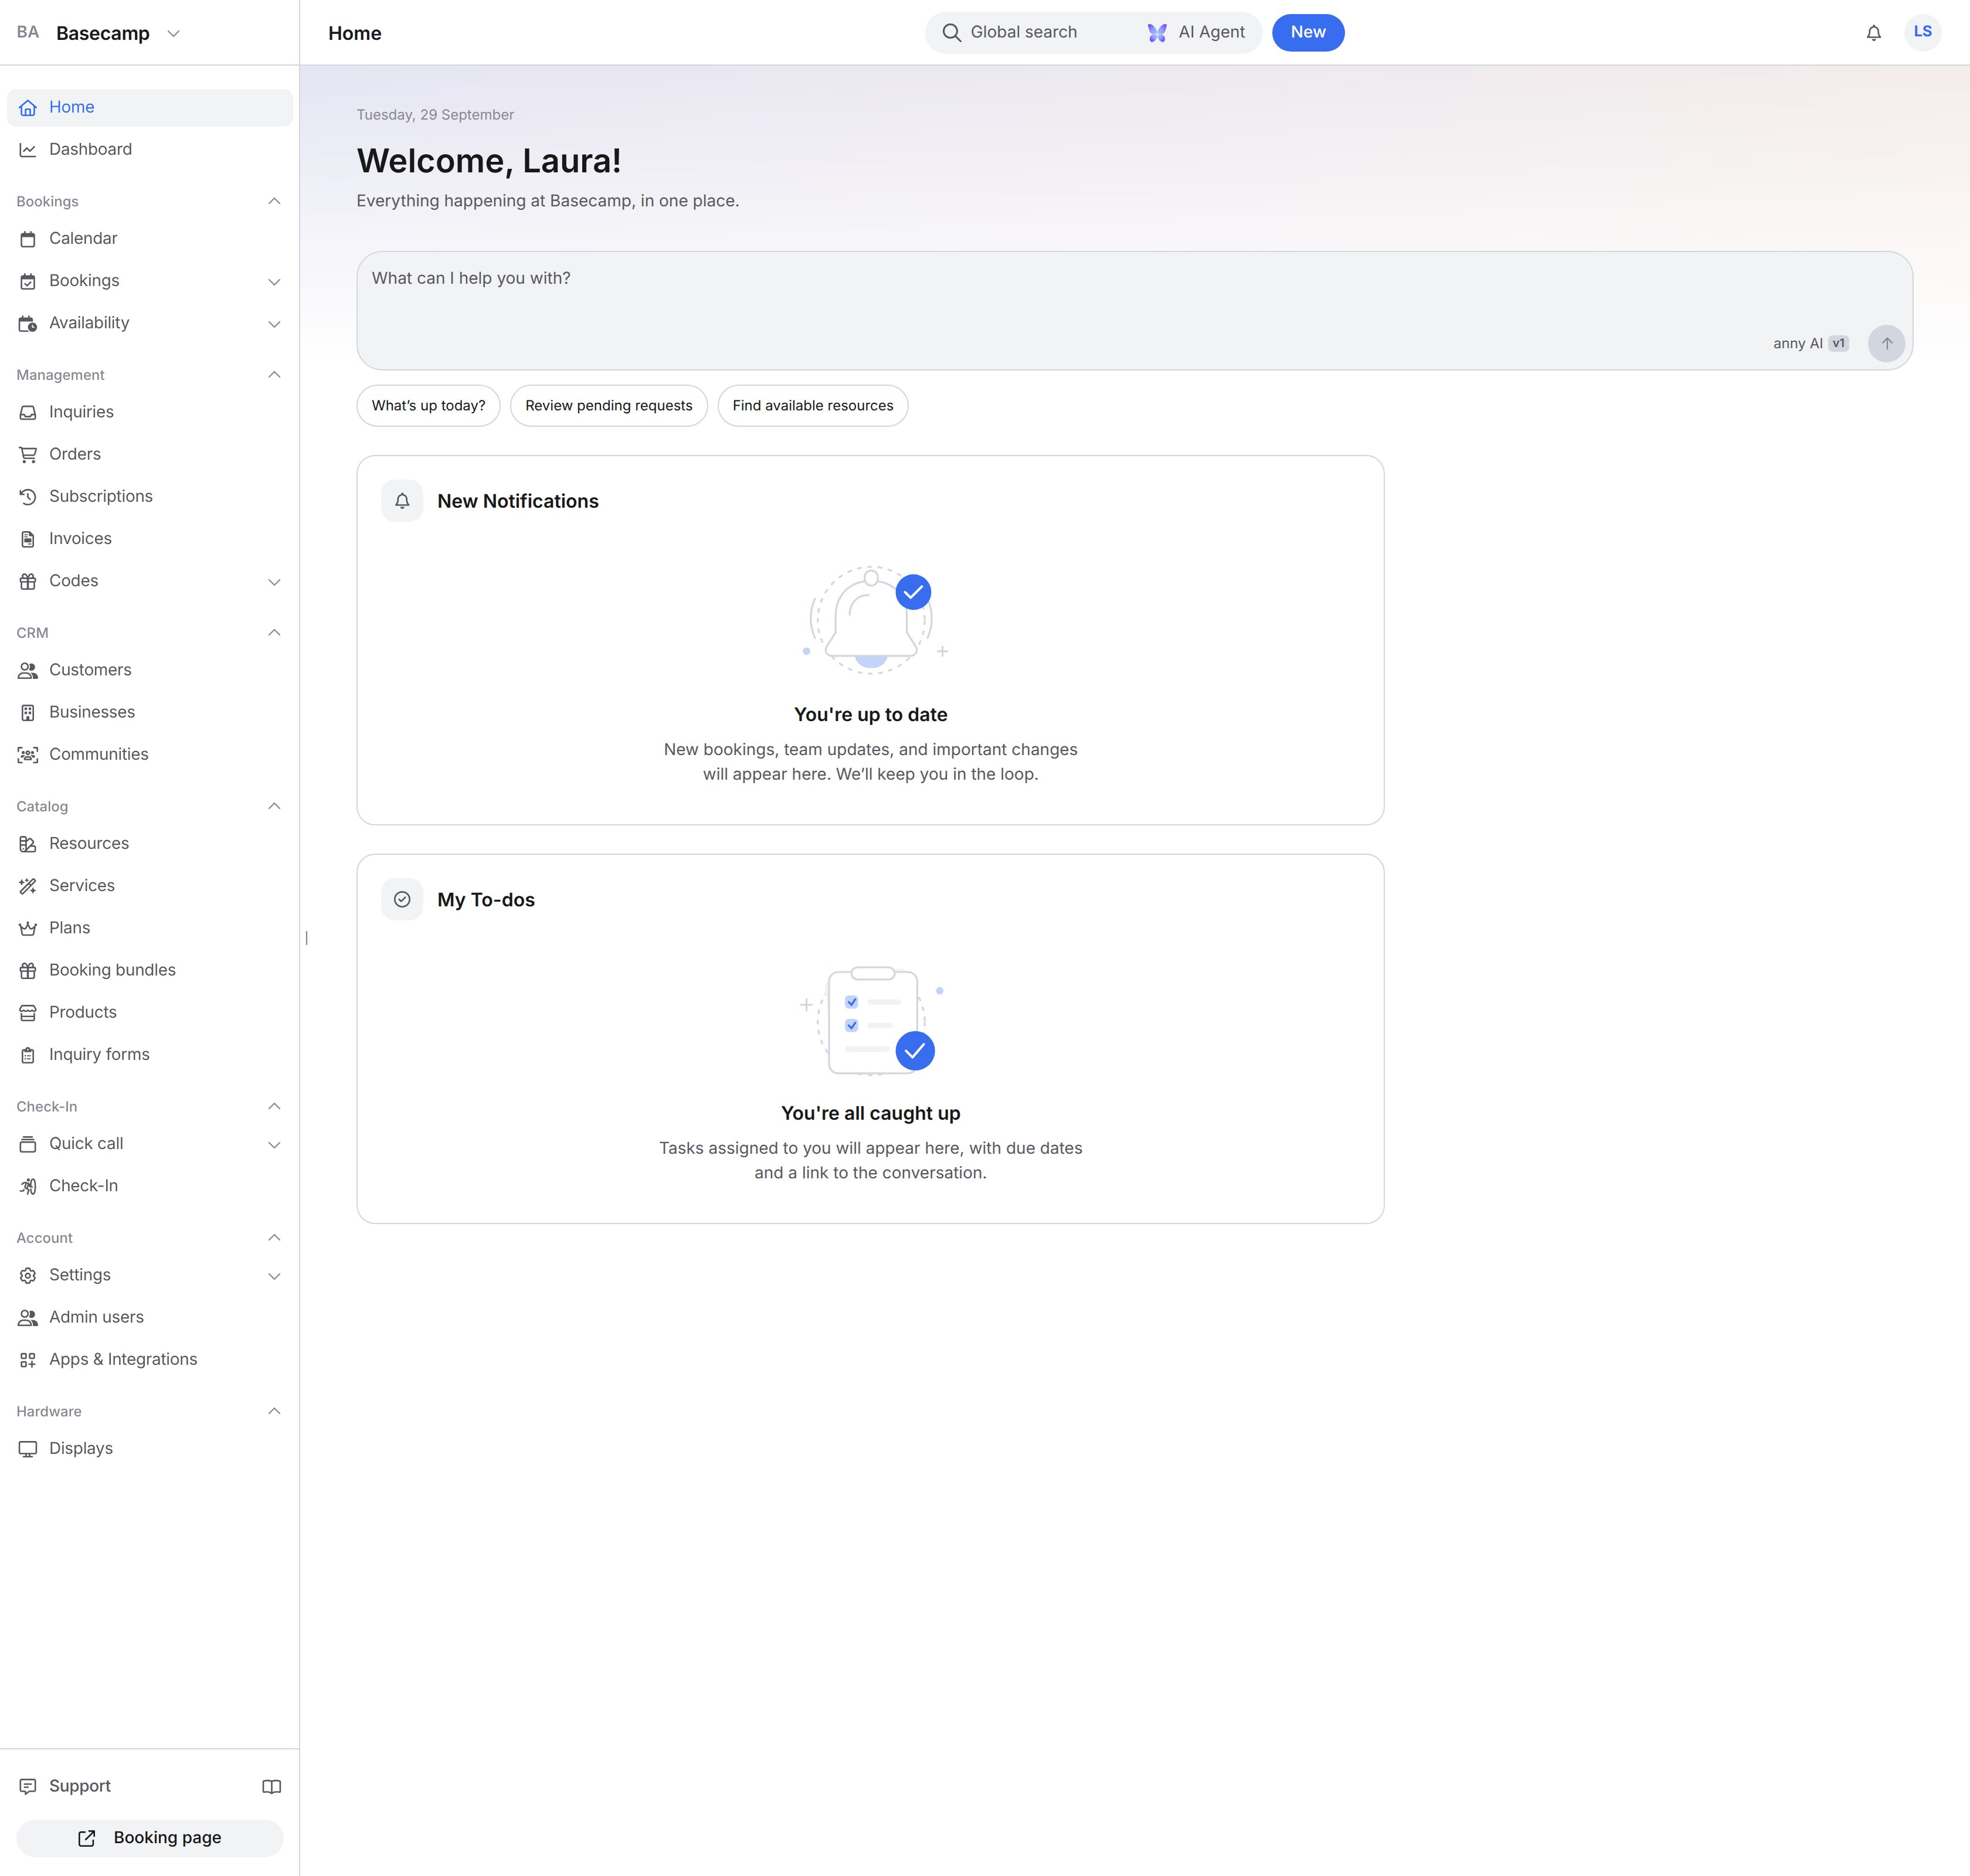
Top bar
Global search sits in the middle of the bar. One click opens the search. The shortcut is on the button: ⌘K on a Mac, otherwise Ctrl+K. Inside the search is the row Ask anny AI Agent. Next to it is New. One click opens the window for a new order. The hint on the button is Create order, and the shortcut is B. On the right are the notifications and your avatar. The menu has these items:- Profile & Notifications
- Account settings, when you can edit the organization. More on that is in Account Settings.
- Language, with the current language
- Appearance, with Light, Dark, and System
- Sign Out
Sidebar
The left bar shows what your role and the activated features allow. You hide entries with Hide from sidebar. Hidden entries come back under Hidden with Show in sidebar.
At the bottom of the bar are Support and Booking page.
Views
On lists such as bookings or resources you save filters and columns as a view. Add view creates one. In the Create view dialog you enter the name. Shared view makes it visible to the team. The hint reads Visible to all team members. After that you use Save view, Save as new view, or Revert changes.Bulk actions
When you select rows in a list, a bar for bulk actions appears. It shows how many entries are selected, plus Clear selection and More actions.Activity
On a record the timeline is labeled Activity. There you see changes, emails, and notes. The article Activity Log explains how it fits together. Changes by the anny AI Agent are marked via AI Agent.Accept the invitation
You were invited to the admin area by email (sender: bookings@anny.co). Here is how to accept the invitation:1
Open the email
Look for the invitation email in your inbox. Also check the spam folder.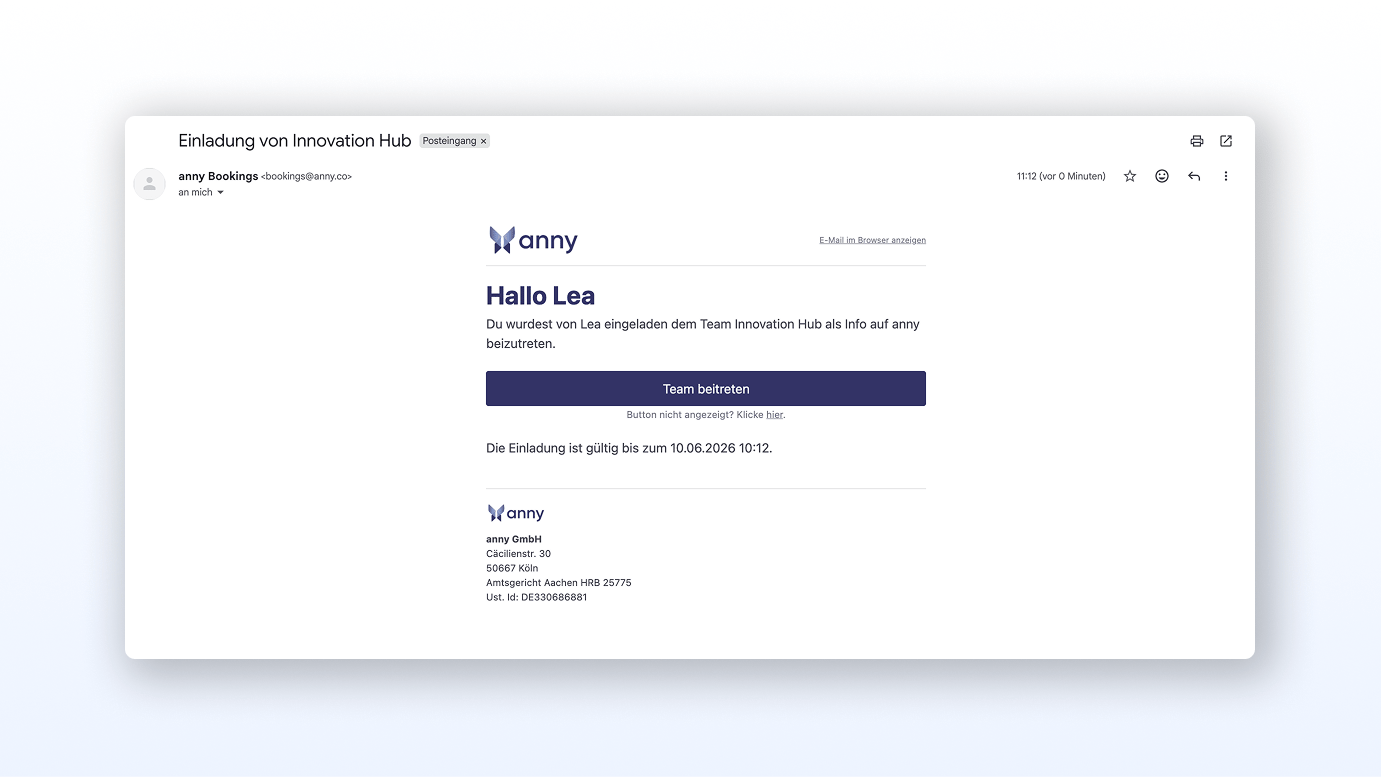
2
Join the team
Click Join team. Sign in with your existing anny account or create a new one.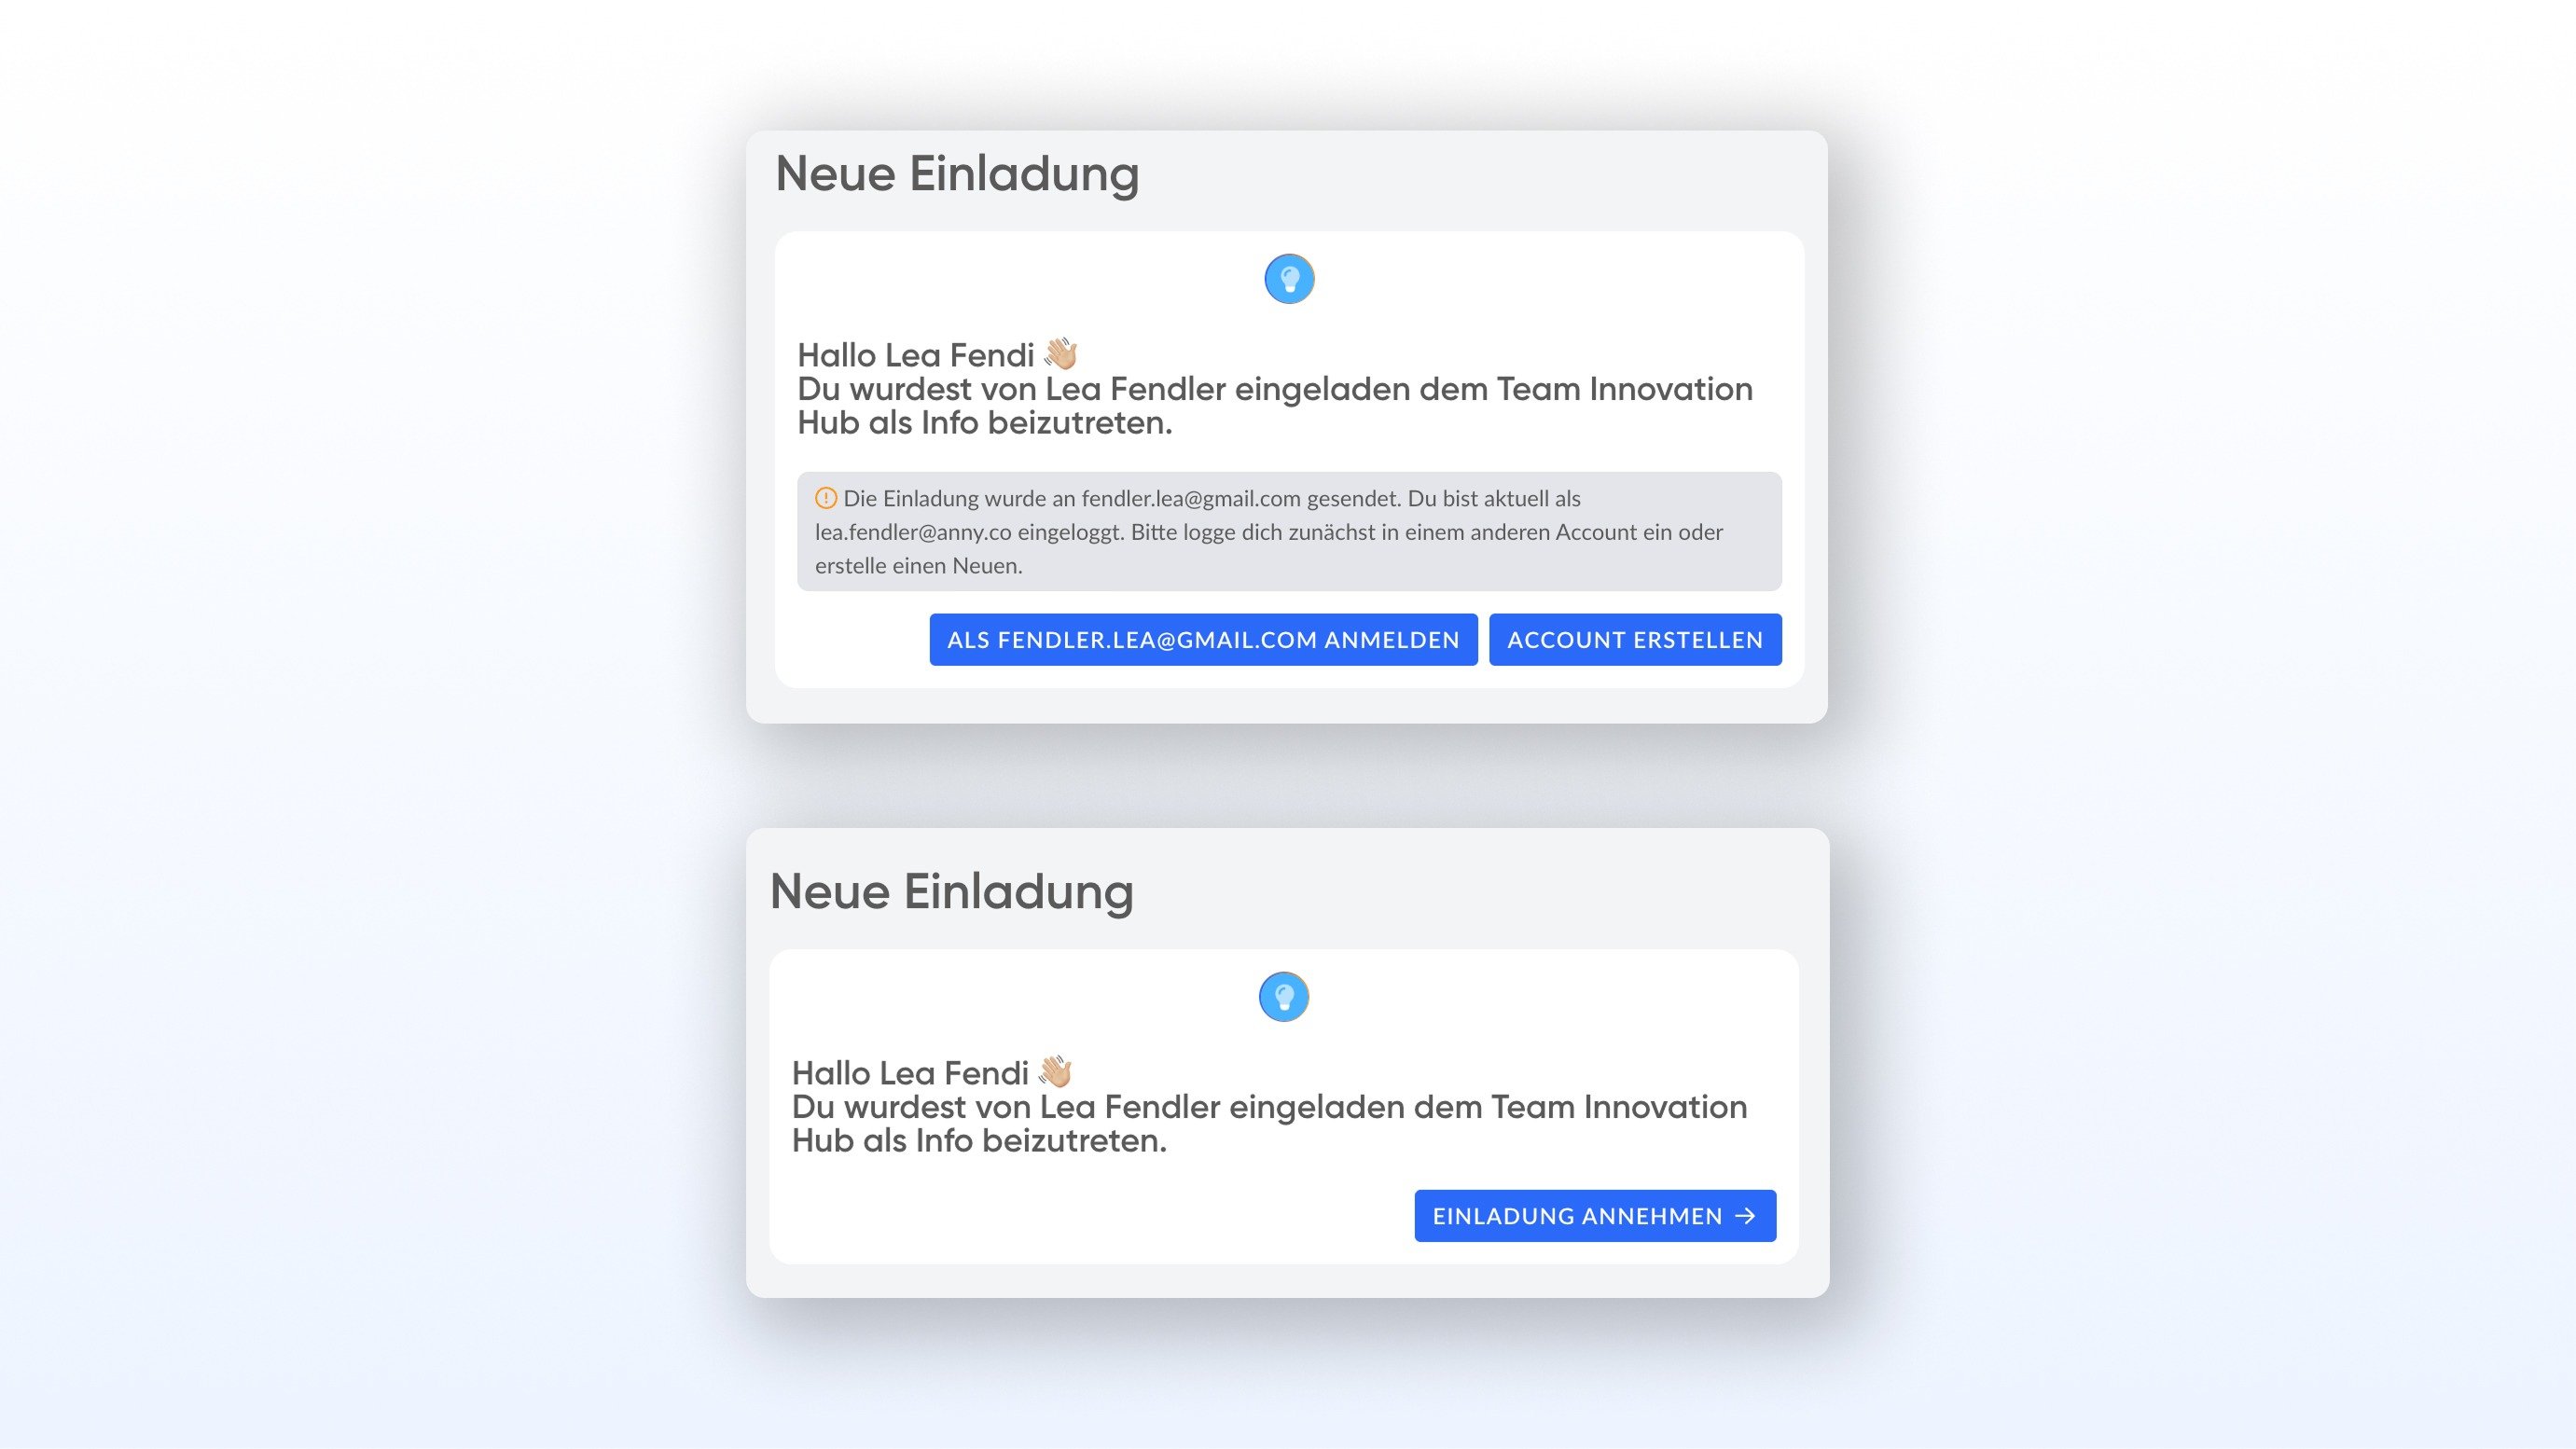
3
Confirm the invitation
Click Accept invitation. You are taken into the admin area and land on Home.
Set up your profile and notifications
1
Open your profile
Click your avatar at the top right and select Profile & Notifications.Your profile is open.
2
Check the basic settings
Set the language, time zone, and email address.The details are saved.
3
Configure notifications
Under the categories, choose which notifications you want to receive. Under Relevant resources you limit them to specific resources. You can also set a booking period for notifications.You only get the notifications you selected.
Invite new team members
1
Open user management
In the sidebar, open Account and then Admin users.User management is open.
2
Send the invitation
Click Invite, enter the name and email address, and assign a role.The invitation has been sent.
3
Adjust permissions
Click Manage permissions when the rights should be narrower before sending, for example only for specific resources.The invitation applies with the rights you set.
The calendar in anny
An overview of all bookings and availabilities of your resources in a timeline, so you can view and manage appointments directly.
Learn more
Learn more
Booking management
Create, edit, and cancel bookings in one place, and keep track of status and details such as forms, legal documents, and access.
Learn more
Learn more
Manage customers
Manage customer data and booking history in one place. See plans, quotas, invoices, and companies.
Learn more
Learn more
I can't find the invitation email.
I can't find the invitation email.
Check the spam folder. The email comes from bookings@anny.co. If it does not appear, ask the person who invited you to send the invitation again.
Which role do I need to see everything?
Which role do I need to see everything?
With Super Admin or Admin you have access to every area. For restricted access there are custom roles. More on that is in Manage Admin Users and Roles.
Can I receive notifications only for specific resources?
Can I receive notifications only for specific resources?
Yes. Under Profile & Notifications, in the booking notifications under Relevant resources, you choose what you are notified about.
How does the admin area differ from the booking page?
How does the admin area differ from the booking page?
In the admin area you manage resources, bookings, customers, and settings. The booking page is what your customers see and where they book.