

Set up your account
1
Create your account
Open anny.co and click Start for free. Enter your name, email address, and a password. After confirming by email, you land directly in the admin area.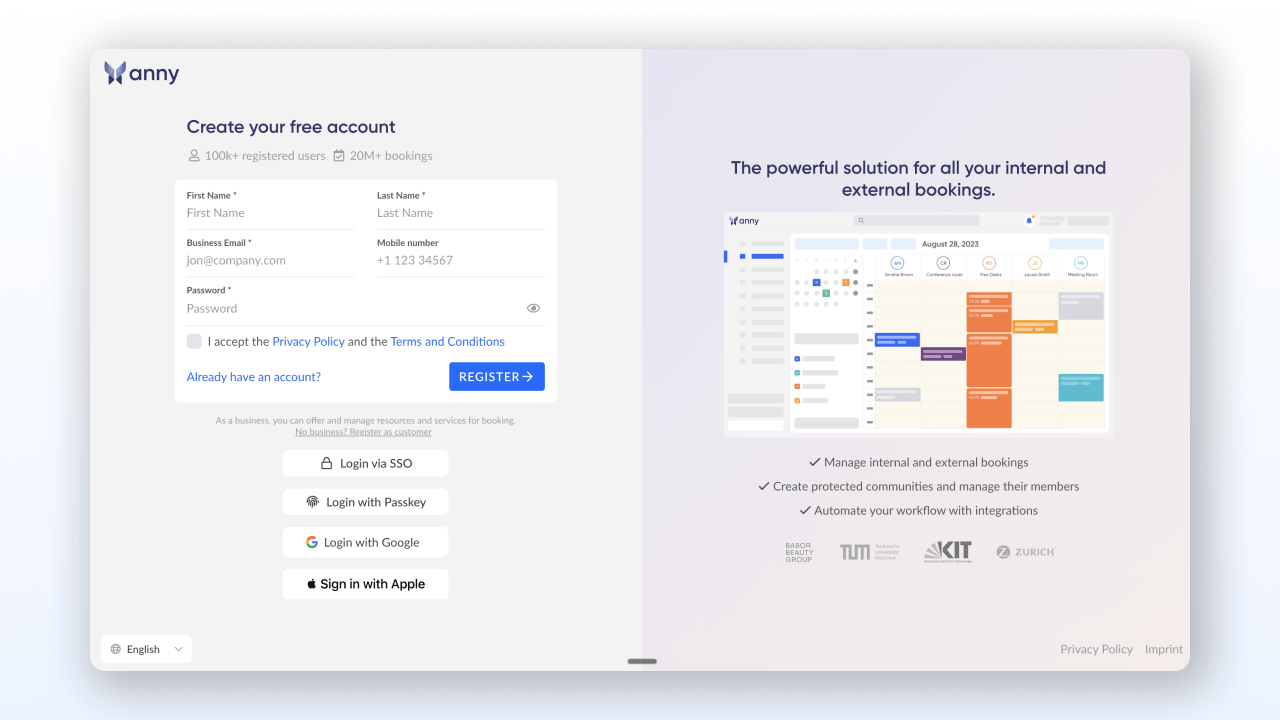
2
Create your first resource
A resource is anything that can be booked: a room, a workspace, a course, or a person for scheduling appointments.In the menu bar, open Resources and click New +. Give it a name (for example “Meeting Room A”) and save. Under Availability, you then set schedules, that is, when the resource can be booked.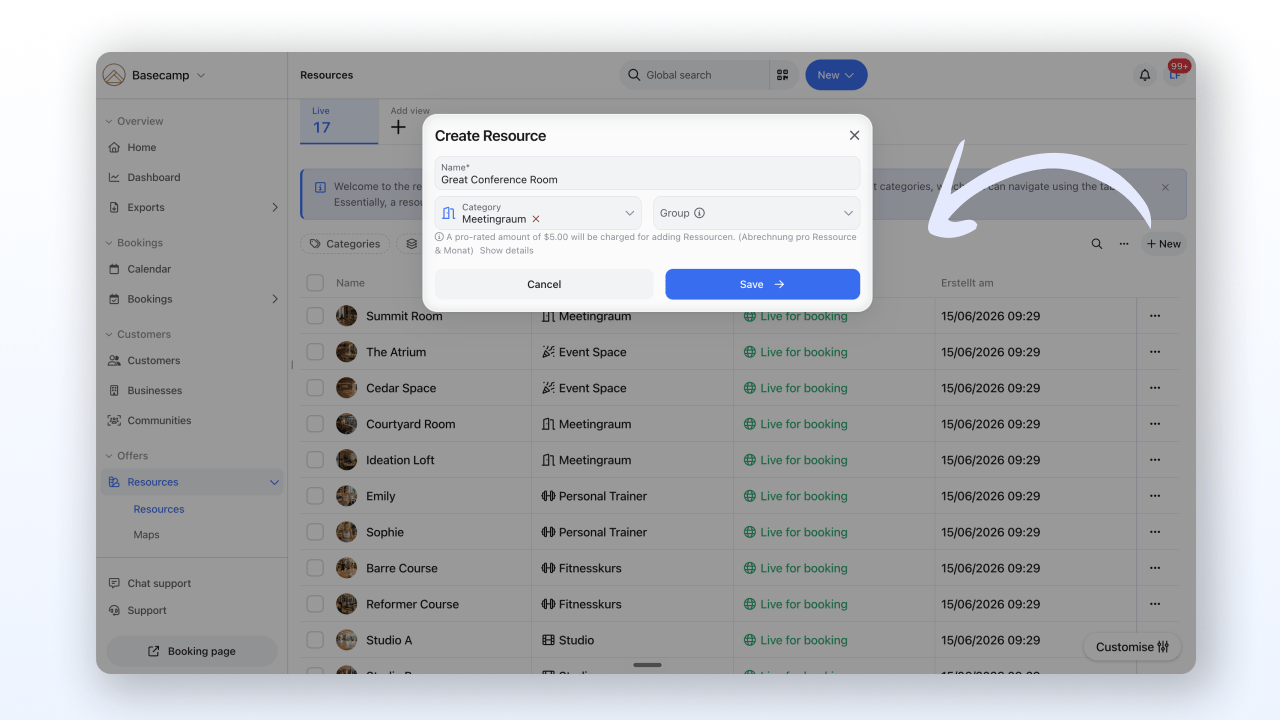
3
Set up a booking option
A booking option (also called a service) defines HOW your resource is booked: duration, price, forms, and cancellation conditions.In the resource, open the Booking Option tab and click + Add. Give it a name (for example “Hourly Booking”) and set at least the duration. Save the booking option.More on all the settings: Configure Booking Option
4
Take your booking page live
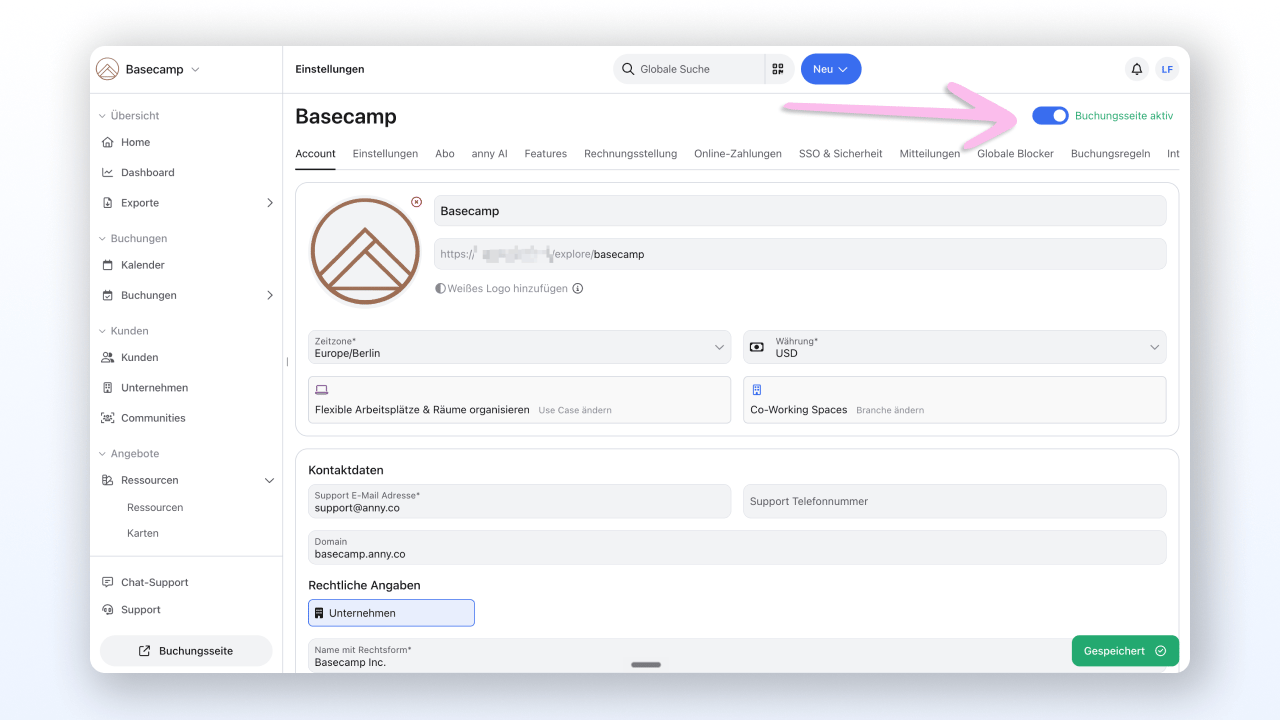
Your booking page is the public page through which customers book. In the admin area, click Take booking page live at the bottom left. You are taken to the organization settings, where you activate the booking page in the top right.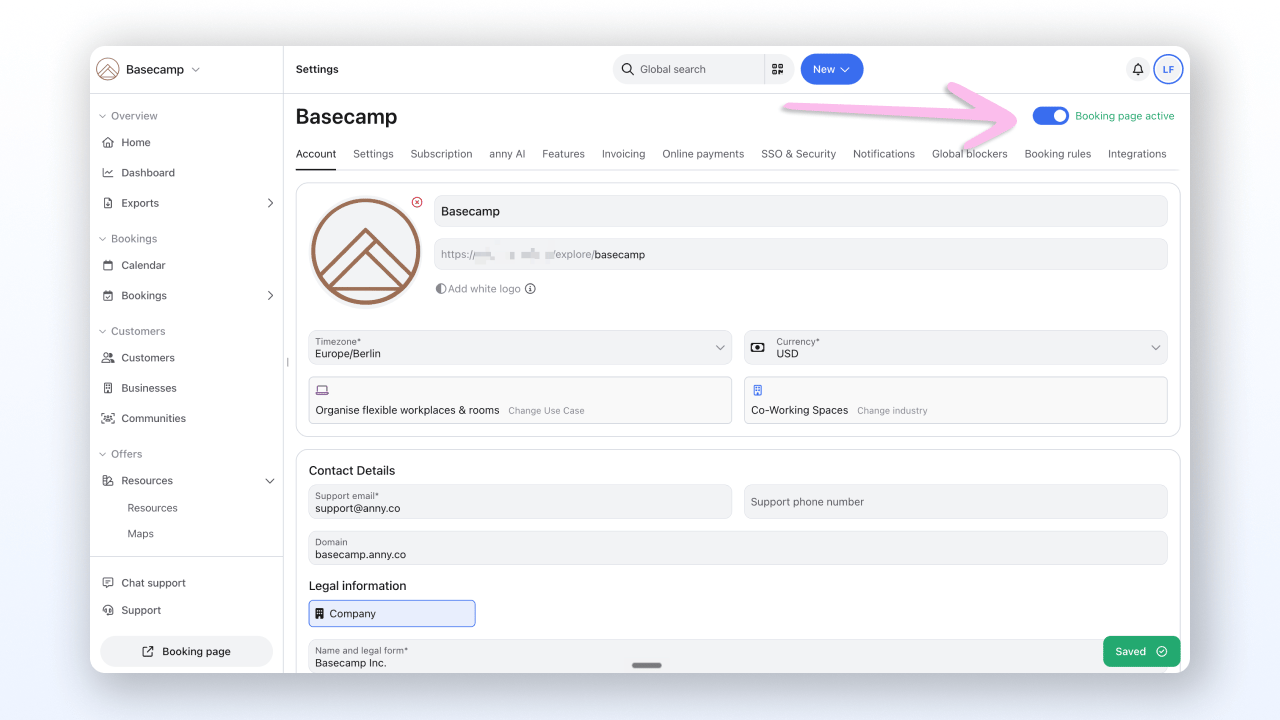
5
Test the booking process
Select the resource and booking option and complete a test booking, exactly as your customers would.Testing paid booking options: Create a discount code with 100% off, so no real costs arise. To do this, activate the Discount Codes feature under Account Settings → Features and create a new code with a 100% relative discount for the resource you want.
Check the result
After you complete the test booking, your booking appears in the admin area under Bookings. There you see all details such as the time range, resource, and customer data. In the calendar, the booked slot is shown as occupied. With that, your booking system is ready for real customers.FAQ
How do I test paid bookings without real costs?
How do I test paid bookings without real costs?
Create a discount code with 100% off for the resource you want. Alternatively, you can decline the booking afterwards (not cancel it) to refund the full amount.
How do I delete test bookings from my account?
How do I delete test bookings from my account?
You can delete free test bookings directly under Bookings, as long as no two-way calendar integration is active. Paid test bookings can only be removed by the Customer Success team. Reach out via chat or by email at support@anny.co.
How do I test subscription plans?
How do I test subscription plans?
In the admin area under Subscriptions, create a new subscription with 100% off for yourself. This way you go through the entire process without any costs arising.
Do I have to complete all steps before my booking page works?
Do I have to complete all steps before my booking page works?
Yes. You need at least one resource with availability and an assigned booking option, so customers see a bookable slot.
Can I embed the booking page on my own website too?
Can I embed the booking page on my own website too?
Yes. Besides the standalone anny booking page, you can integrate a widget directly into your website. More on this: Embed widget
Troubleshooting
No bookable times appear on my booking page
No bookable times appear on my booking page
Check whether you have set a schedule with available times for the resource. Without availability, there are no bookable slots. Open the resource and navigate to Availability → Schedules.
I cannot delete my test booking
I cannot delete my test booking
Test bookings can only be deleted if no two-way calendar integration (for example Outlook or Google Workspace) is active. Contact support@anny.co.
The booking page shows 'not live'
The booking page shows 'not live'
Go to Account Settings and check whether the booking page is activated in the top right. Also make sure at least one resource with a booking option exists and the resource has the status Live for booking.