

Who is this feature for?
This feature is primarily aimed at IT admins. It is especially helpful for:- Automatically creating new employees before they log in for the first time.
- Instantly revoking booking rights when someone leaves the company.
- Centrally managing and synchronizing profile attributes (such as departments or locations) directly from the IdP.
What changes with SCIM?
- From an admin perspective: You no longer need to manually create, edit, or deactivate anny accounts. anny automatically mirrors the status of your IdP.
- From a customer perspective: Users don’t notice the change. They still log in via SSO (SAML), but their profile in anny is always up to date.
Where do you find the feature in anny?
You find the configuration under Account settings > SSO & Security. Requirements:- You have admin access in anny.
- You have admin access to your identity provider (e.g. Microsoft Entra).
- The anny application already exists in your IdP for the SSO login.

How the logic works
- Your identity provider monitors changes to the assigned users (e.g. new department, account lock).
- When a change occurs, the IdP sends this info to anny’s SCIM interface over an invisible channel (backchannel).
- anny validates the request using the secret token.
- The profile in anny is updated immediately, completely independent of whether the person is currently logged in.
Setting up SCIM with a generic IdP (e.g. Okta, Google)
The principle is nearly identical across almost all providers, even if the menus have different names.1
Copy URL and token
In anny, go to SSO & Security > SCIM and copy the URL and token.
2
Open the provisioning menu
Open the provisioning menu in your IdP application (often called “API Integration” or “App Provisioning”).
3
Insert credentials
Insert the tenant URL as the “Base URL” and the token as the “API Token” (or Bearer Token).
4
Test the connection
Test the connection and start the sync cycle.
Setting up SCIM in Microsoft Entra
With these instructions, you set up SCIM so that Microsoft Entra automatically provisions your users for anny.1
Open SCIM in anny
In anny, open Account settings > SSO & Security and select SCIM.
2
Copy tenant URL and token
Copy the tenant URL and the token.
3
Open the anny application in Entra
In Microsoft Entra, open the existing anny application for which you want to set up provisioning.
4
Configure provisioning
Go to the Provisioning area and start a new configuration there (or select the existing one).
5
Enter credentials
Enter the copied tenant URL into the field of the same name and insert the token into the Secret Token field.
6
Test the connection
Click Test Connection to check whether Entra can reach anny’s SCIM interface.
7
Save the configuration
Save the configuration once the test is successful.
8
Start provisioning
Then activate provisioning via the Start provisioning button.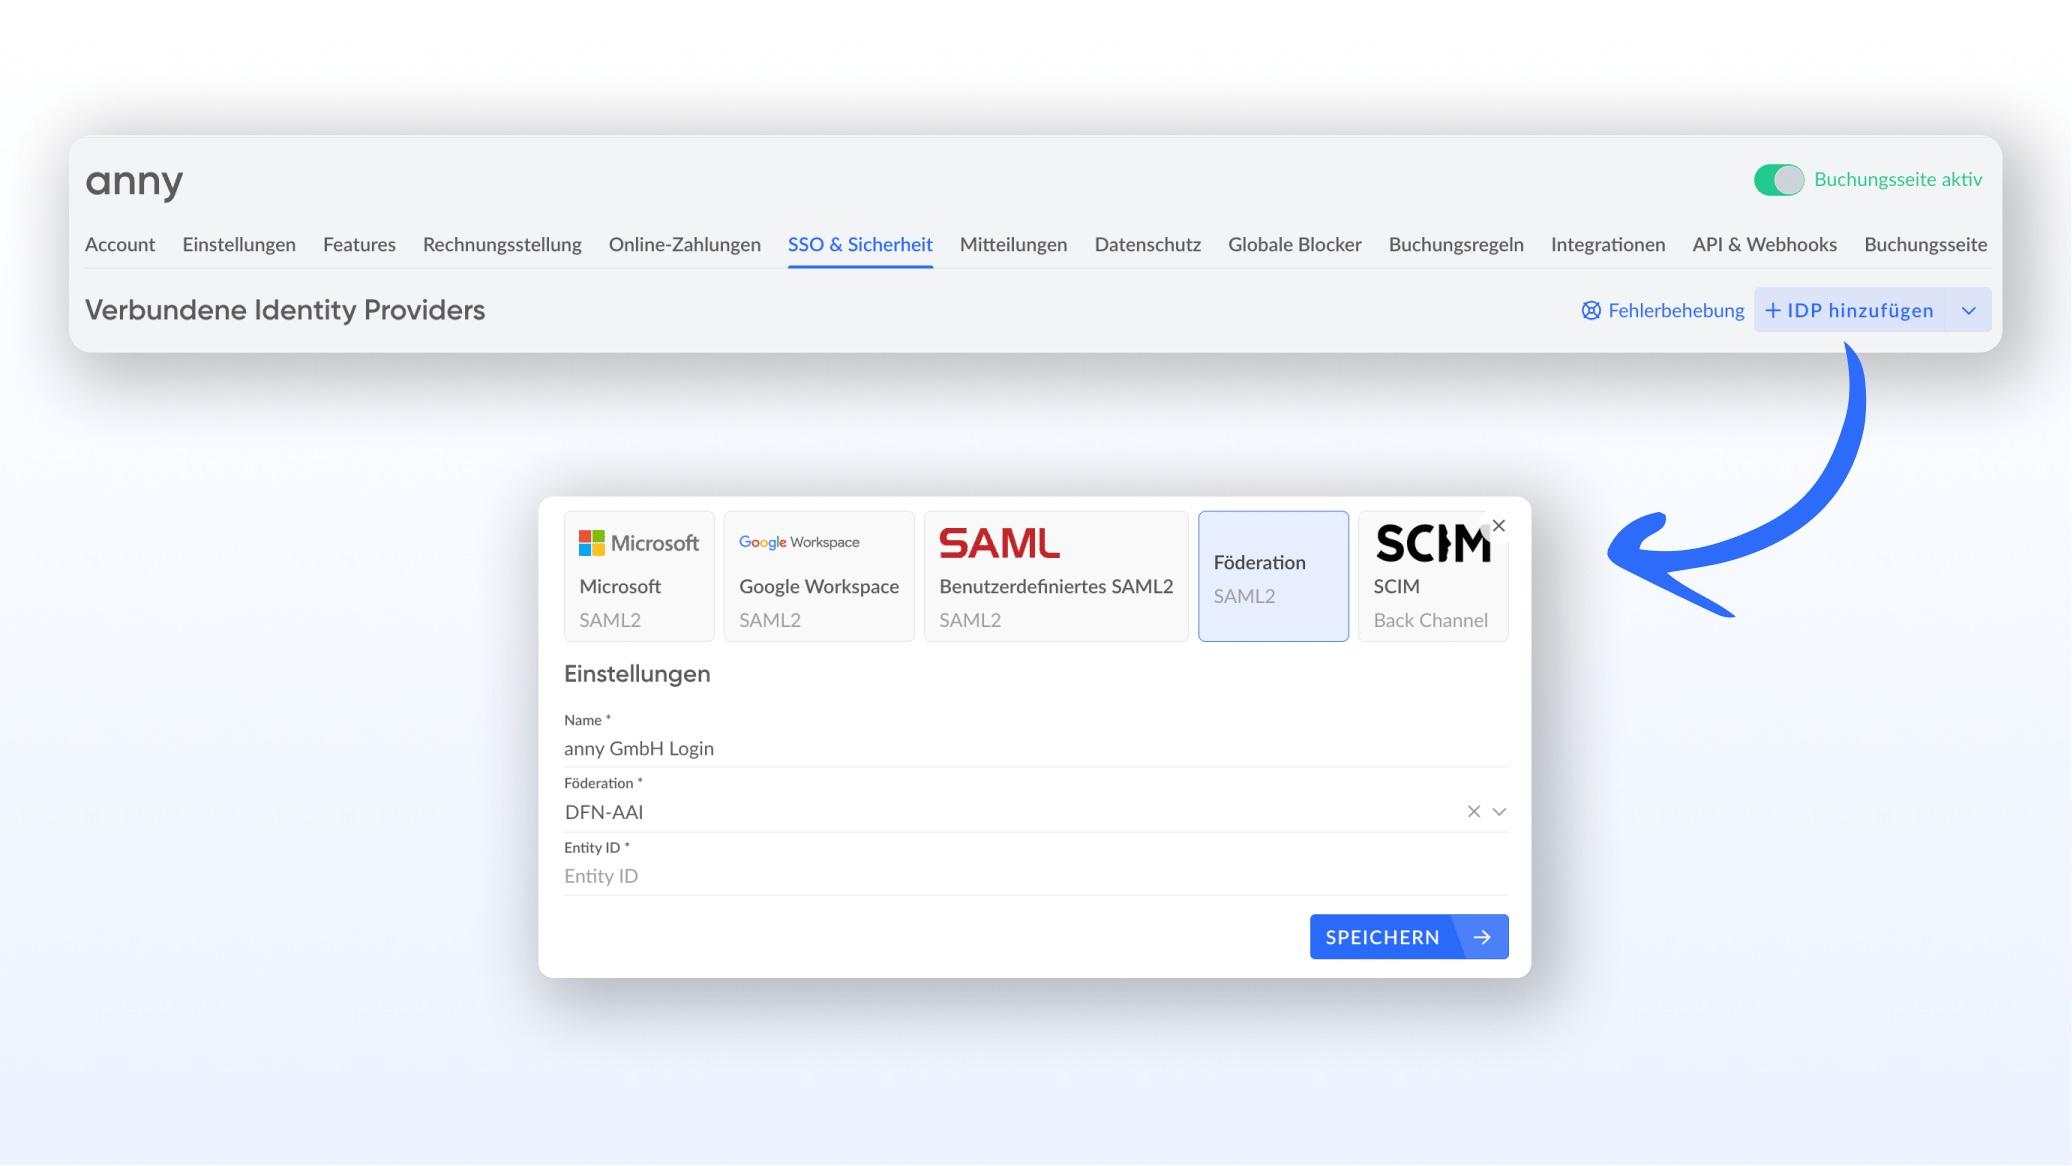
Note: Provisioning takes some time. Plan for some waiting time before you check the result in anny.